**The Unfulfilled Promise of Mahershala Ali as Blade: A Hollywood Enigma**
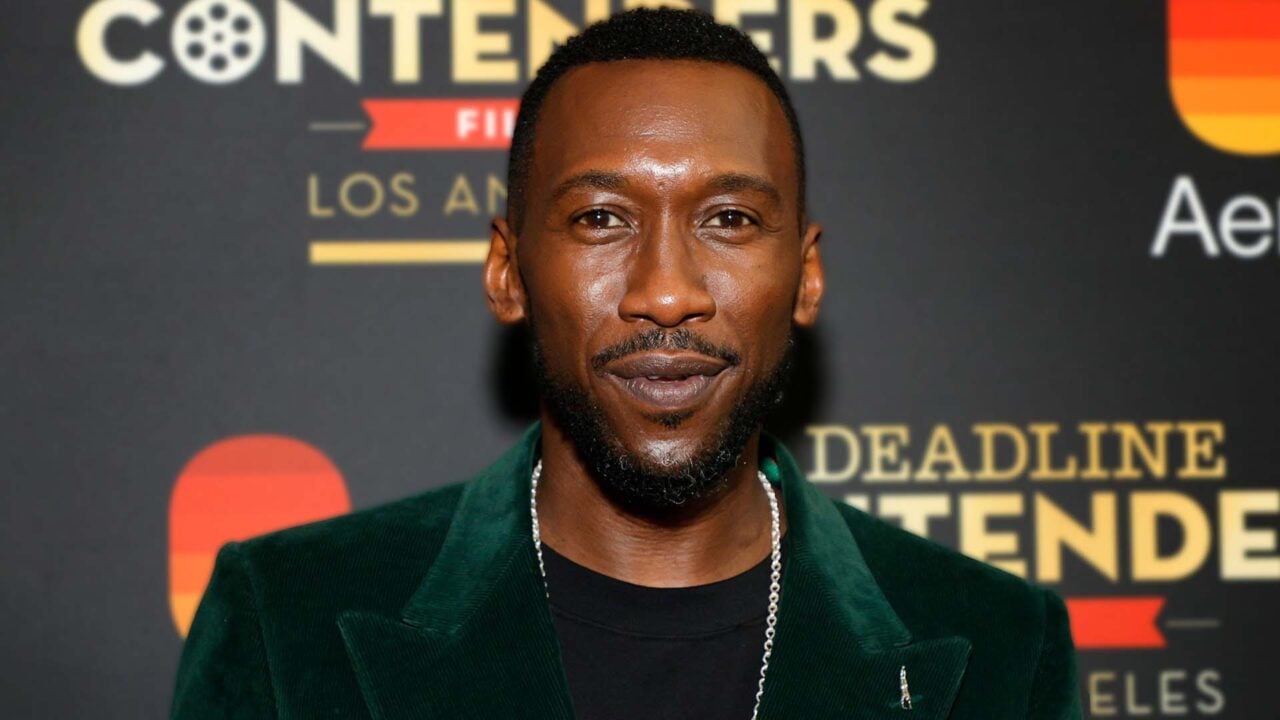
Mahershala Ali’s selection as the legendary vampire hunter Blade sparked excitement and joy when it was revealed at San Diego Comic Con in 2019. Fans hailed the choice, eagerly waiting to see what Ali—a skilled performer recognized for his work in *Luke Cage*, *True Detective*, and the *Hunger Games* series—would contribute to this cherished character. Nevertheless, the project quickly encountered various production hurdles that cast doubt on its future.
The *Blade* reboot was afflicted with **production holdups** and a series of **directors exiting the project**. Initially under the direction of Bassam Tariq, the film found itself lacking a clear vision, which caused a major disruption. In a recent discussion with *GQ*, Ali conveyed his disillusionment, asserting that the film’s potential might never materialize, and stressed that he would not be returning to the role. “For whatever reason, that project is not meant for me,” Ali noted, underscoring the evident absence of direction from Marvel Studios.
Despite the buzz surrounding his casting, Ali’s participation in the film abruptly ceased. His agreement with Marvel, coupled with the studio’s delays, compelled him to pursue different creative avenues, feeling that the opportunity initially presented to him had vanished. He shared his thoughts on the creative journey: “When I reflect on this and *Blade*, I couldn’t have managed both… They weren’t inclined to proceed, so they should clarify that.”
Marvel Studios President Kevin Feige acknowledged his responsibility in the matter, expressing sorrow over the film’s inability to take off. “I felt like a colossal loser and failure for not getting underway with Mahershala,” he admitted in an interview, further stressing the blunders that contributed to this situation.
The complications in production began to pile up in 2022 with the exit of the first director, followed by the departure of a second director in 2024. In addition to directorial shifts, the script underwent numerous revisions, resulting in **creative disarray** that greatly hindered the project’s development. Reports indicated that at one point, Ali’s character Blade was diminished to a minor role in the film centered around him. The outlook seemed bleak, especially after it was revealed that Marvel was involving Wesley Snipes—who originally played Blade—in the upcoming *Deadpool and Wolverine* film, a move that hinted at the conclusion of Ali’s ties with the franchise.
As the future of *Blade* hangs in the balance, it looks like the project may be sidelined—or worse—abandoned completely. However, Ali himself is not without prospects. He is poised to lead an action drama titled *Your Mother Your Mother Your Mother*, a partnership with former director Bassam Tariq, showcasing his abilities in an entirely new setting. The film is expected to debut in select theaters on September 25th, suggesting that while the *Blade* role may not have materialized, Ali’s career is still progressing.
In summary, the casting of Mahershala Ali as Blade was received with immense excitement and the promise of a rejuvenated franchise. However, due to a multitude of unforeseen obstacles, the prospects for the project have dimmed considerably. While fans may mourn the absence of Ali in this role, they can take comfort in his ongoing ventures and the possibilities for new narratives that lie ahead.