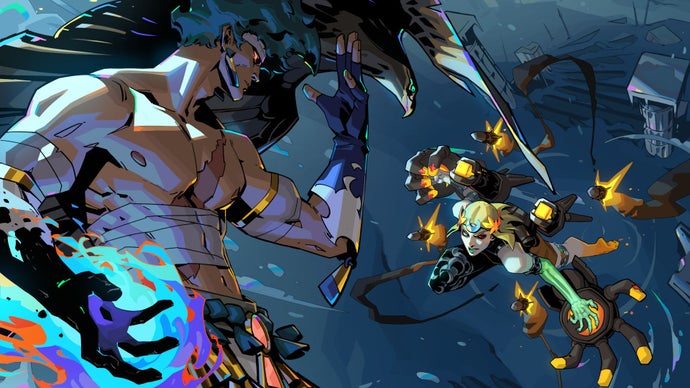
There are quite a few **Absolvement Events** to get familiar with if you’re new to the game. Make sure your character is strong enough for a run in [Absolvement](https://www.roblox.com/games/15646364136/Absolvement-ALPHA)! Need some new skills to help with your current build? Our [Absolvement Crystals](https://www.gamezebo.com/walkthroughs/absolvement-crystals/) guide goes over a key feature that you should know about when it comes to Skill Cards.
## Absolvement Events
Events spawn randomly during a run, with some being more useful than others. Find out about each event in this guide, what to expect from them, and any debuffs/buffs/items that you can obtain.
### Contents
### Random Events
#### Fools Trial
There are two chests to choose from. One of these chests deals DMG to you, and one contains a collection of items.
#### Fishing
With three rods located nearby to the pond, you can fish in the water to obtain random consumable items. Each time you fish up an item, there’s a 10% chance that it’s a Potential Orb. Relics are also a possible item!
#### Fountain of Reflection
There are three options for offerings to give to the fountain:
– **500 Gold and a Chosen Potential**
– You get a Potential Roll
– **Portion of your HP and a Chosen Potential**
– You get a Potential Roll, but your Max HP reduces by 15% for the next 5 floors
– **Portion of your DMG and a Chosen Potential**
– You get a Potential Roll, but your DMG output reduces by 15% for the next 5 floors
#### Obelisk of Desire
You can choose between the ‘Improvement to my Core’ or ‘Improvement to my Skills’.
– **Core**
– Your chances of rolling Passive Cards and Skill Cards increase for the next 20 Rolls
– **Skills**
– Your chances of rolling upgrades for your skills increase for the next 20 Rolls
#### Holy Sanctuary
If you have the correct amount of Gold to ‘cleanse’ the Sanctuary, and you have either a permanent debuff or a Potential that is Voided, you can interact with the Holy Sanctuary.
##### Holy Fountain
For the first use of the Holy Fountain, it costs 750 Gold. For the second use, the price increases to 975. Anything used beyond the second time increases in price by 750 Gold each time.
– Opt to remove a permanent debuff of your choice
– Opt to reclaim a Potential of your choice that you previously Voided
#### Underworld Altar
Pick between Wealth, Power, or Fortune. No matter which one you wish for, you are inflicted with a debuff.
– **Power:**
– Obtain a Roll with a choice of three weapons which match your current weapon tier, but you get a debuff
– **Fortune:**
– Obtain a Lucky Roll, with a 5x chance of it being a Unique or Mythic, but you get a debuff
– **Wealth:**
– Obtain a random amount of Gold between 750 and 1.25K, but you get a debuff
##### Possible Debuffs
The debuff you get, no matter which wish you go for, will be one of the following:
– **Ineptitude**
– Mana Cost increases by 1
– Cooldowns are 0.1 seconds longer
– **Deficient**
– M1 DMG reduces by 5%
– **Barren**
– Max Mana and Regen decrease by 1%
– Max HP and Regen decrease by 1%
– Global DMG decreases by 1%
### Shops
#### Blacksmith
When the Blacksmith appears, you can either sell items for in-game money or upgrade your current equipment. You can upgrade the tier of your weapon, which increases its DMG by 5% for each tier. The game goes for your armor, which increases your DEF by 5% for each tier.
#### Tree Merchants
Two shops appear at the sides of a tree, both of which sell three items each. The stock is random, like the Bunker Shop Room.
#### Bunker Shop Room
The Bunker Shop Room is a shop that sells just three items. The items that are available for purchase are mostly random.
#### Triple Shop Room
This room has three shops to browse through with randomly stocked purchasable items.
#### Abyssal Cavern
Three shops which have random items in stock. If you don’t have enough Gold, you can sell items to these Vendors.
### PvE
#### Umbral Machinery
When you activate the machine, you must battle against three