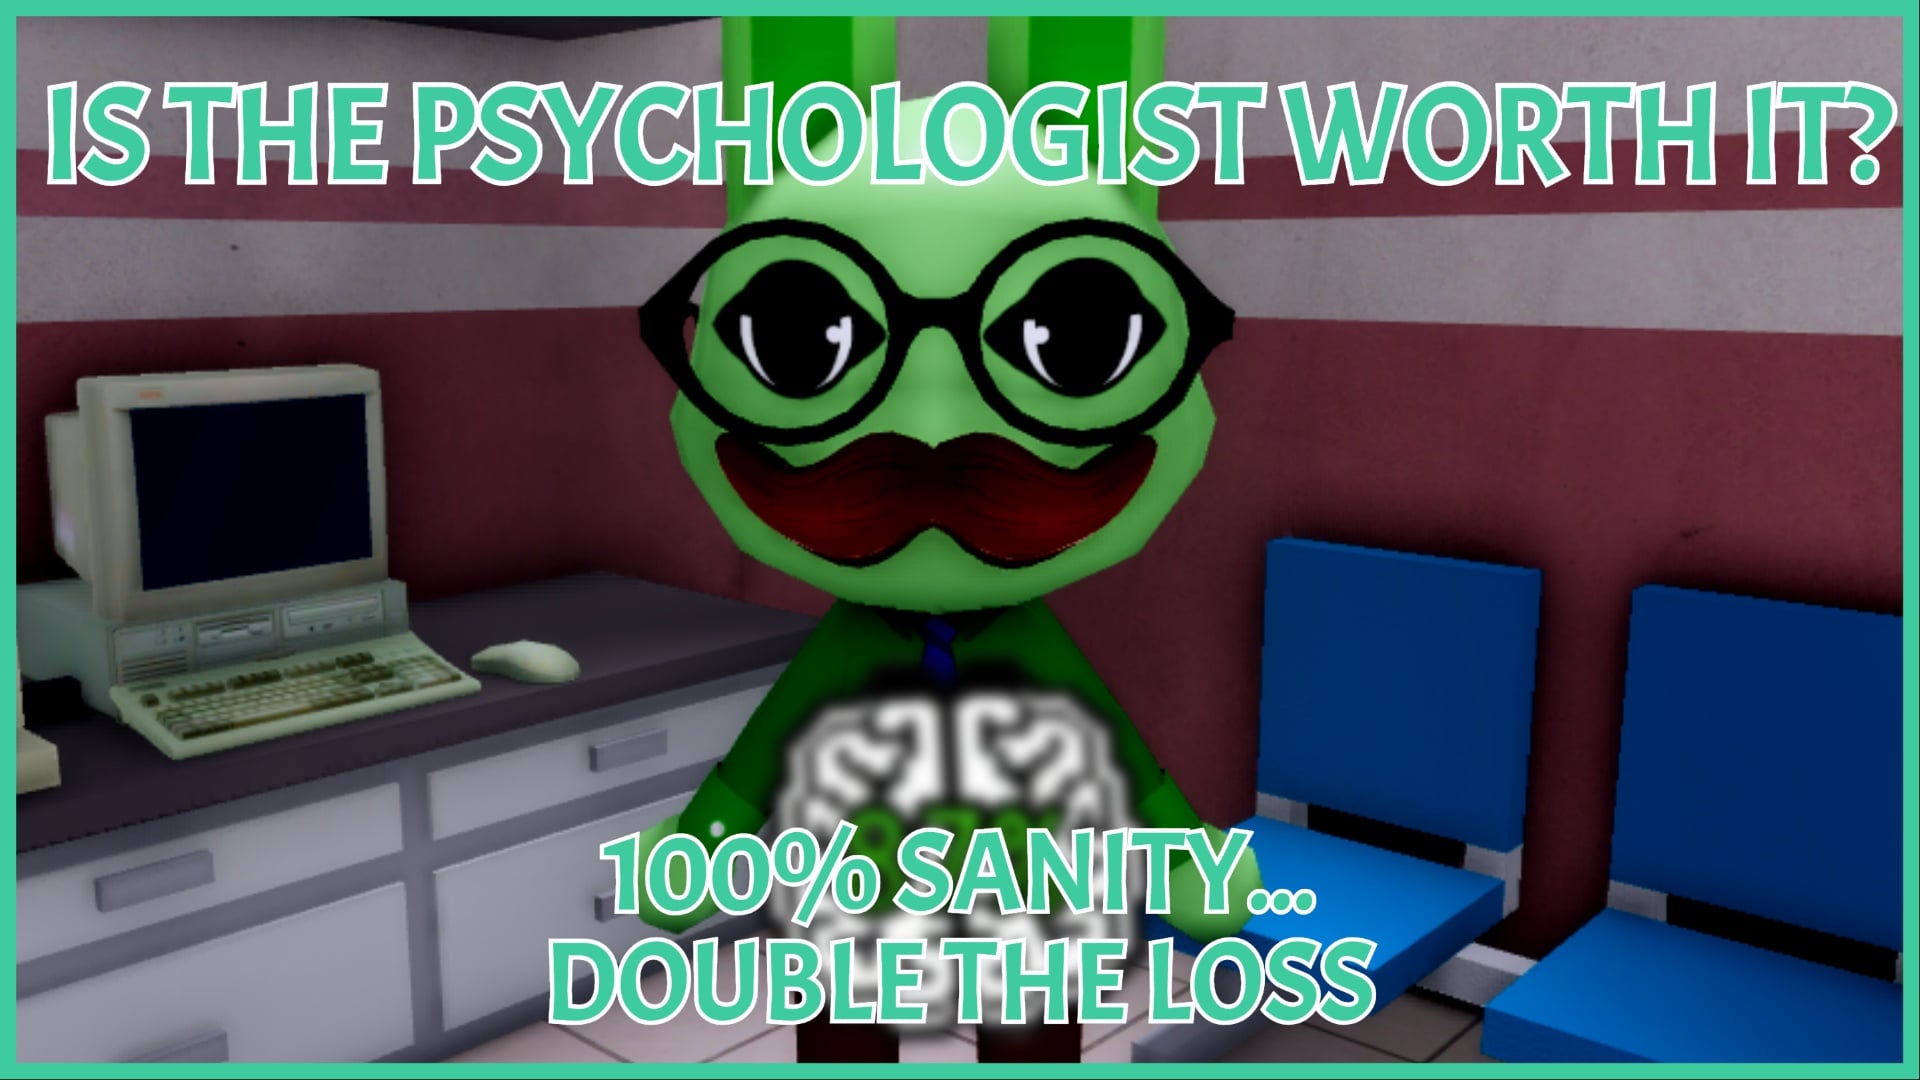
You read the title, so I’m not going to waste much time on an intro… I’m here to deep dive into whether I think the Psychologist is worth it in Animal Hospital. I’ll talk about its level bonuses, gimmicks, and how well it handles early to late shifts and solo or multiplayer campaigns.
Let’s get right into it.
Is The Psychologist Worth It in Animal Hospital?
First, it’s best if I introduce the Psychologist so you know exactly what I’m referencing throughout the remainder of this article.
The Psychologist Class costs 500 Animal Coins, making it one of the cheaper options to buy, especially in the early game if you haven’t played many campaigns/shifts yet.
To complement this class’s perks, the Psychologist begins each new session with 100% Sanity. Utility is average, and starting money is nil, which is a pretty good balance.
- Level 1 Perks: Doubles sanity effects, both positive and negative.
- Level 2 Perks: Doubles sanity effects, with a 7.5% chance to ignore negative effects.
- Level 3 Perks: Doubles sanity effects, with a 15% chance to ignore negative effects.
Psychologist and Sanity – Is It Worth Buying?
The Psychologist, to me, is a faux upgrade of the Intern, which also revolves its perks around Sanity. What makes the Psychologist so unique, however, is the Sanity gamble of each campaign. Beginning with full Sanity offers the player some wiggle room in the early shifts to sacrifice Sanity, or tank several shifts without consuming coffee whatsoever.
The above is what makes this Class ideal for solo and multiplayer campaigns. During solos, the maximum sanity offers room for error in both the reception and during treatment, knowing the coffee is right there if you need a boost without other player interference.
In multiplayer, sacrificing the first few brews to let teammates take them instead allows for a well-maintained Sanity level across the team. This will ensure player survivability into the bowels of the game, such as the chaotic ambulance rush during the 5th shift.
This may be obvious, but given that this Class works great in singleplayer, it also proves by proxy that the Psychologist is built to handle reception check-ins and patient treatments without bias.
Familiarity Makes It Stronger
By the time you can afford this Class, you should hopefully be more wary of what signs to look for when finding anomalies. This, in turn, reduces negative exposure, protecting Sanity from the doubled cost if encountered. Of course, it isn’t fool-proof, but familiarity will make this Class stronger with time.
Because of this, only a few anomalies continue to pose threats (ghosts, stalkers, hiders). The remaining Anomalies’ sanity effects become somewhat negated if players remain vigilant.
However, at higher perk levels of Psychology, there is a chance to completely ignore negative Sanity effects if you’re lucky. But, for fellow unlucky players like myself, I’m going to note each sanity effect of all anomalies and restoring items in the game.
Sainty Effects (Psychologist)
Below is a list of all Sanity Effects for the Psychologist, with the math already done for you.
- Positive:
- Coffee: +10 per sip (+30 Sanity per Coffee)
- Chocolate: +40 per bite (+120 Sanity per Chocolate)
- Tasing: +4 per tased anomalous patient or mimic
- Surgery: +2 for completing a surgical treatment on a patient
- Negative:
- Job Stress: -2 Sanity every 50 seconds
- Tasing: -30 Sanity if tasing a normal patient
- Shooting Teammates: -12 Sanity
- Cursed Photo: -20 Sanity
- To avoid this sanity loss, don’t pick up photos after they’re printed.
- Fire: -2 sanity per second whilst on fire or near
- Ritual Candles: -2 to -6 Sanity per candle extinguished
- Anomaly Att

![Guide to Obtaining Cloth in Unscathed [Roblox]](https://gaitgames.com/wp-content/uploads/2026/08/guide-to-obtaining-cloth-in-unscathed-roblox.jpg)