# Embracing Nostalgia: How to Incorporate Custom Videos in Retro Rewind
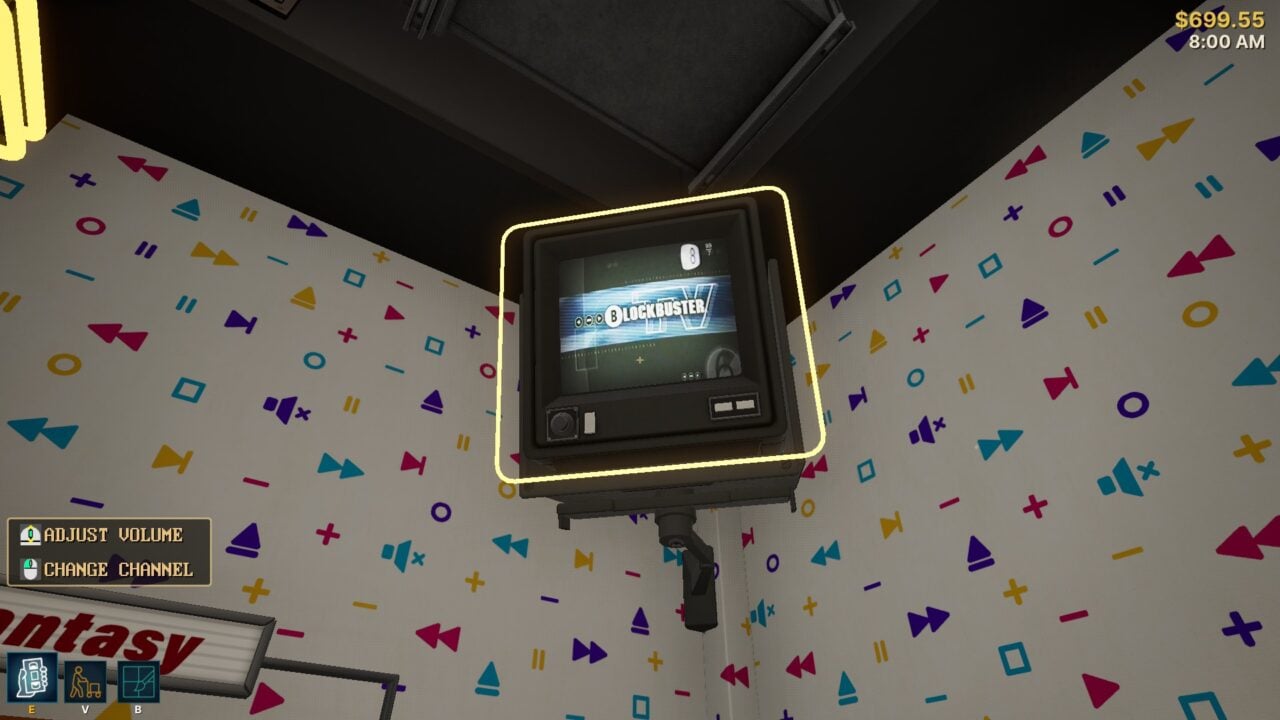
A few nights ago, while immersed in the delightful whirlwind of managing my rental store in the video game *Retro Rewind*, I became enchanted by the last 20 minutes of *The Terminator* playing on a small CRT display in the corner of my shop. The chance to view classic films in a digital rendition of a ’90s video rental store was a nostalgic pleasure. If you feel this longing for retro entertainment, here’s how to transform your shop’s screens into a time capsule filled with ’90s movies and clips.
## What is *Retro Rewind*?
*Retro Rewind* is a newly launched video rental store simulator available on Steam. It invites players to step into the shoes of a rental shop proprietor, reminiscent of cherished venues like Blockbuster. The game’s lovely visuals of brightly colored shelves and retro decorations create a warm ambiance for former video store patrons.
One of the standout features of *Retro Rewind* is the option to play custom videos on in-game TVs, which are typically equipped with generic clips. Players can replace these clips with their personal video files, opening a realm of customization possibilities.
## Step 1: Selecting and Downloading Your Videos
To begin, select the videos you wish to showcase on your in-game TVs. The choices are nearly endless, dependent on your taste. You can choose:
– Movies
– Trailers
– Cartoons
– Commercials
– Music videos
– Custom compilations
For genuine ’90s content, resources like the Internet Archive and YouTube are fantastic. For this guide, we’ll utilize a two-hour Blockbuster promotional tape found on the Internet Archive.
Remember that *Retro Rewind* currently accommodates only three channels, so you’ll need to combine multiple clips into longer videos if you have more than three to play.
## Step 2: Converting Your Videos
Once you have your video, the next step is to convert it for use in *Retro Rewind*. A simple way to achieve this is by using HandBrake, a free video conversion tool.
1. **Download and Install HandBrake**.
2. **Load Your Video**: Open HandBrake and pull your desired video file into the software.
3. **Set Format**: Make sure the format is MP4.
4. **Adjust Video Settings**:
– Under the “Video” tab, select H.264 as the Video Encoder.
– Go to the “Dimensions” tab and adjust the “Resolution Limit” to custom, then enter 512×512 pixels, which is the recommended resolution for the game.
5. **Save the File**: Name your file and remember where it’s saved (typically in your videos folder).
6. **Start Encoding**: Click the green button to begin. This process might take a few moments.
## Step 3: Integrating Custom Videos into *Retro Rewind*
With your video converted, it’s time to place it into *Retro Rewind*.
1. **Access Game Files**: In your Steam library, right-click on *Retro Rewind*, select “Manage,” then “Browse Local Files.”
2. **Navigate to Movies Folder**: Open the “Retro Rewind” folder, then “Content,” “VHS,” and finally the “Movies” folder.
3. **Select a Channel**: You will see folders for the three available channels: Police, Sci-Fi, and Public. Choose one to adjust.
4. **Replace Default Video**:
– Locate the existing video file (e.g., “RR_Channel_Public.mp4”).
– Drag your converted video into this folder.
– Rename the original file by adding an “X,” “A,” or “2” to its name.
– Rename your new video to match the original file name, removing the extra letter or number.
After finishing these steps, you can restart *Retro Rewind*, switch through the channels, and enjoy your personalized videos.
## Final Thoughts
This procedure allows you to craft a distinct atmosphere in *Retro Rewind*, reviving nostalgia as you manage your digital rental store. Just remember not to lose sight of your in-game duties while indulging in all the classic content you’ve incorporated!